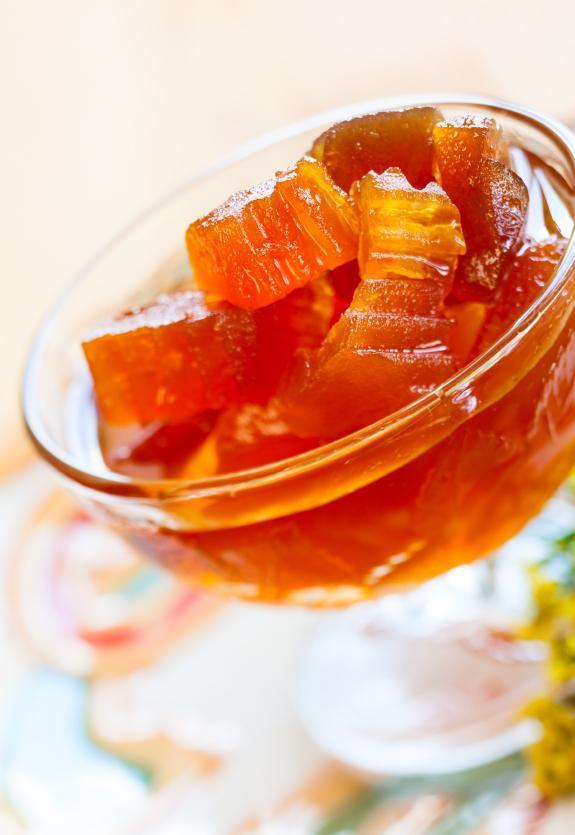
How To Make Squash Jelly


Have you planted a squash in your orchard or garden and now you don't know what to do with it? Apart from turning them into a roast or a purée as well as freezing or drying them, we suggest making squash jelly which is an ideal dessert, breakfast, snack, etc. To start, you need some sugar and flavoring to give a unique flare to the syrup. You can also store it in a glass jar for a long time. If you want to find out the steps on how to make squash jelly, don't miss this OneHowTo article.
Ingredients:
You'll need:
- Large pot
Steps to follow:
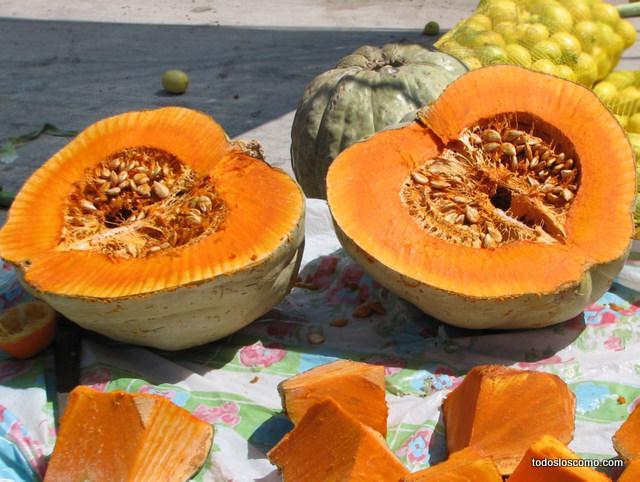
The first step in preparing this Squash Jelly is to cut the fruit in half in order to remove the seeds from the inside. The seeds are not meant to be part of the final dish. If you're dealing with natural squashes that you've grown at home, you can save the seeds to be replanted at another point.
Removing the seeds is crucial as they can affect the texture and flavor of the jelly. Seeds contain compounds that can make the jelly taste bitter if not removed.

You should also remove the squash's skin. Make sure that the fruit's flesh is not left attached to the hard skin. Next, chop the pulp up into small pieces to make it easier to cook. This step is important because the skin can be tough and fibrous, which may not be desirable in the smooth consistency of a jelly. Additionally, cutting the squash into smaller pieces will help it cook more evenly and quickly.
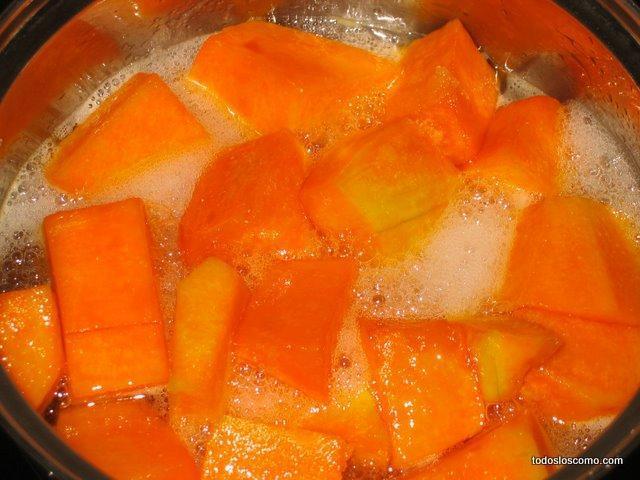
Weigh the pumpkin flesh to know how much sugar you are going to need to prepare. Put it in a large pot with about 750 grams (26.4 oz) of sugar per kilo of pumpkin flesh. You can also add orange peel and vanilla flavoring if you wish. These additions can enhance the taste by adding a citrusy aroma and a hint of sweetness. Now turn on the oven and keep it at around half power.
It's important to monitor the sugar content as it not only sweetens the jelly but also acts as a preservative, helping to maintain the jelly's shelf life.

Note that some people like to cover the squash with water. Others prefer not to add any water. You can opt for whichever suits you best. With regards to cooking time, the dish needs to be left to cook for at least two hours. During this time, you should keep an eye on the texture and hardness of the dish. You can check by using a knife. Pick a piece of squash and prick it to check its texture.
Cooking time can vary depending on the size of the squash pieces and the efficiency of the heat. Stir occasionally to prevent sticking and ensure even cooking. This also helps in achieving the desired consistency of the jelly.
Also, you can choose between putting the squash into the blender to achieve a textured purée or leaving the larger pieces intact. It just depends on how you like it. If you prefer a smoother jelly, blending is the way to go. On the other hand, leaving chunks can provide a unique texture and make the jelly more interesting to eat.
Once the dish is cold, you can put it in cans or glass jars that are clean. Seal the squash jelly in a glass jar and it will keep for much longer. Properly sealed jars can preserve the jelly for months, allowing you to enjoy this homemade treat well into the future. Make sure the jars are sterilized to prevent any bacterial growth that could spoil the jelly.
If you want to read similar articles to How To Make Squash Jelly, we recommend you visit our Recipes category.


