How to Make a Piping Bag and Nozzle at Home


If you are a baking enthusiast, you must have a collection of piping nozzles and bags at home. But you don’t need to buy them from the market every time. You can quickly make some on your own at home too. Piping is one of the most popular ways of decorating cakes, and it is considered an art form in itself. You can easily find disposable piping bags and nozzles in the market, but this OneHowto.com article will tell you how to make a piping bag and nozzle at home.
Steps to make a piping bag
First of all, let's take a look at how to make a piping bag at home:
- Take a greaseproof paper and cut a 10-inch square out of it. For less icing, you can take a smaller size of square, and for more, you can cut a bigger square.
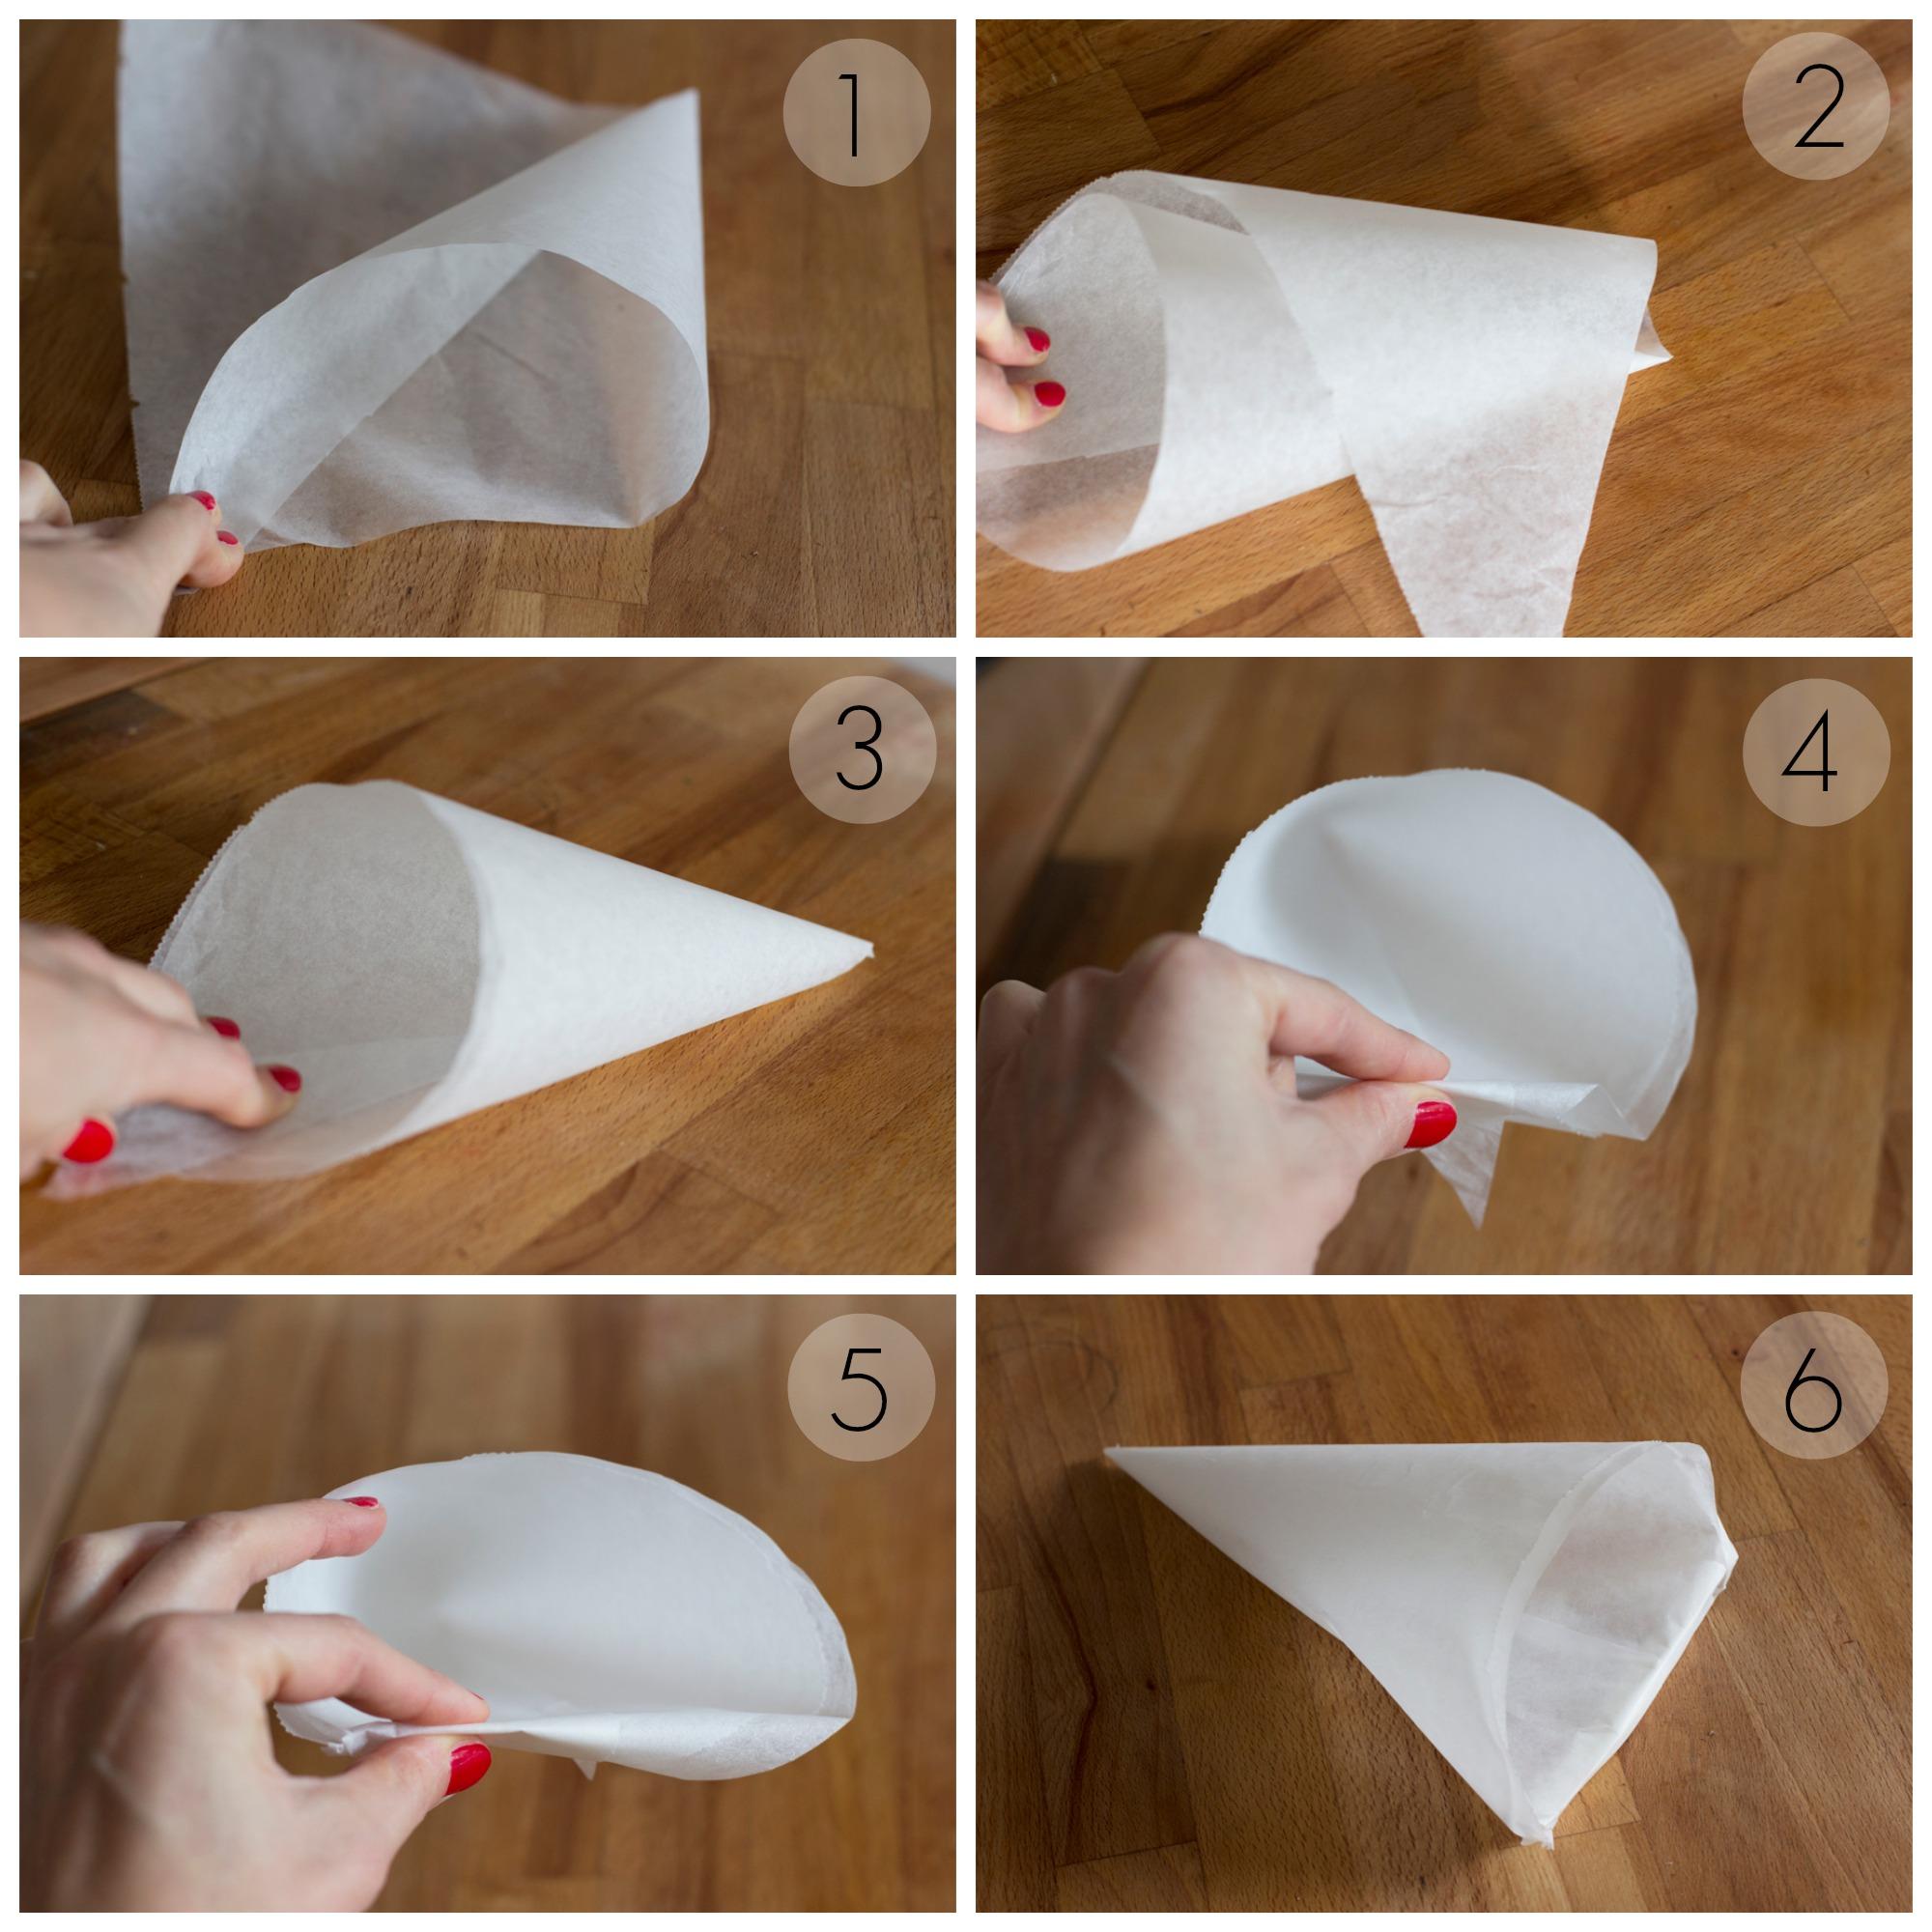
- Fold the square into half diagonally so that you get a double triangle. This will form the basis of your piping bag.
- Start working with the longer side kept facing away from you, ensuring a smooth fold.
- Start pulling one of its corners into the center. Hold this in place, bend in the other side’s corner, and wrap tightly to make a cone shape. This step requires a bit of patience.
- Tuck the upright ends inside the cone and fold to secure. Make sure it is tight to avoid any leakage.
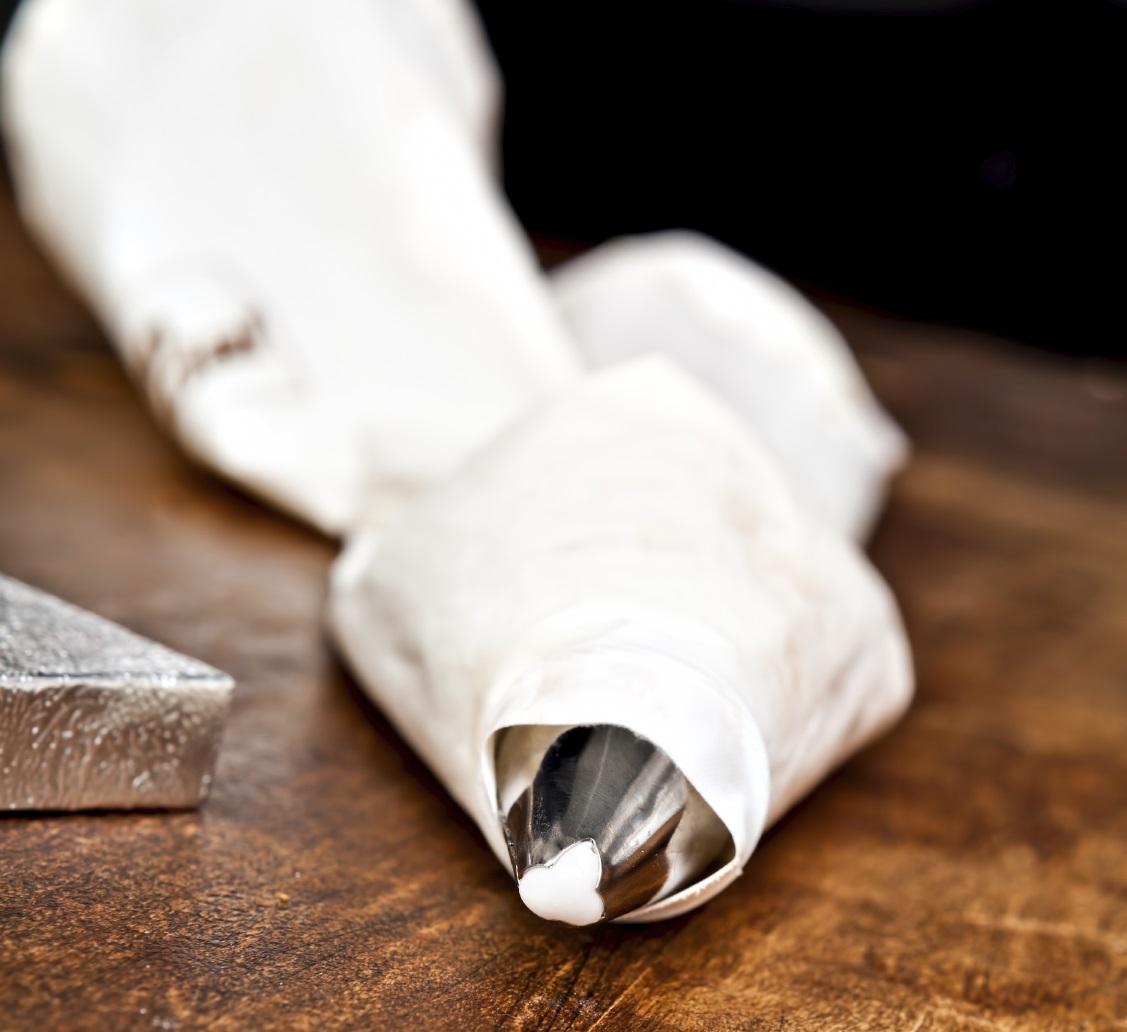
- Spoon some melted chocolate into this piping bag and fold down to seal. You can also use this method for other icings or fillings.
- Now comes the trickiest part. Take the cone in your hands, and snip off its tip very gently as per the amount of icing you want to discharge. Apply pressure to see how much icing is coming out. If it is still less, you can cut a little more of the tip to increase it. But if it is coming too much, you will have to discard this cone and make another one. Don’t worry. You will become perfect with practice. Remember, different thicknesses are suitable for different designs.

Steps to make a piping nozzle
Piping nozzles can be of different shapes and can be effectively used to give different designs to the cake icings. You can quickly make different types of piping nozzles yourself at home. For this, you need some soda cans, scissors, and your piping bag.
- Cut the top off of a soda can, wash it well, and dry it completely to ensure hygiene.
- Cut off its bottom and then cut it into a rectangle, around 2 inches wide. This will be the base of your nozzle.
- Roll its upper right corner and tape it tightly, ensuring the shape holds.
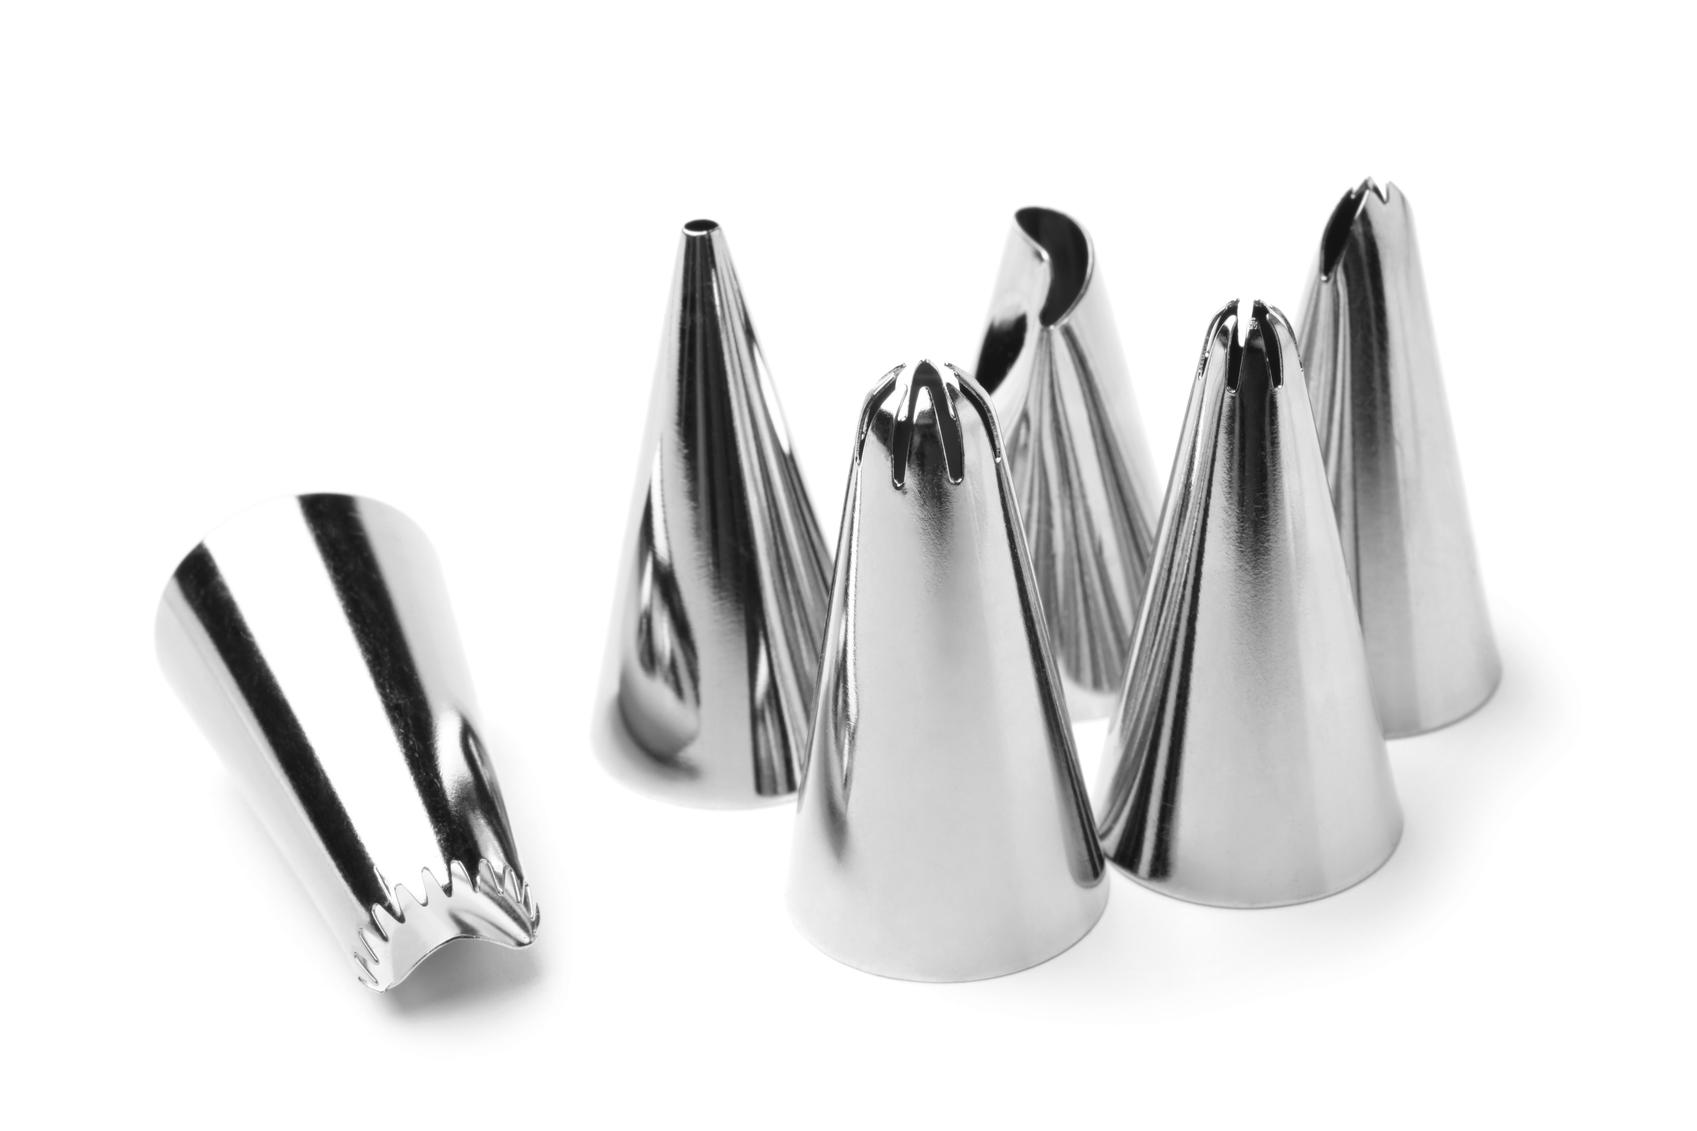
- Now comes the designer part. You can cut the tip in your desired shape using scissors. You can keep it simple like plain round in different sizes, or give it a closed star, open star, flower, leaf, dollop, petal, or ruffle shape. With practice, you can also give them cuts of grass effect and others. You can get different effects by opening the edges or folding them inside with a table knife. Experimenting with different cuts can lead to creative designs.
- Trim off the sharp edges of the nozzle so that it does not puncture your piping bag. Push it into the tip of your piping bag and squeeze. Check the shape that is coming out from your nozzle. Click here to find out Different types of Piping Nozzles for Cupcake Decoration.
It's important to regularly check the nozzle for any sharp edges that might damage the bag.

How to fill in your piping bag
Now that you have your piping bag with its nozzle attached, it’s time to fill the bag with your favorite icing. This step can impact the ease of use and final decoration quality.
- Drop the nozzle end down and let it stand in a narrow bowl or a tall glass. This provides stability while filling.
- Keep holding the bag and drop the edges of the bag around the glass’s rim. This will allow the bag to remain open as you start filling the icing into it. Once you have filled it, use a thread or rubber band to secure it tightly. When you put pressure on the piping bag to squeeze out the icing, it should not come out from the other end. Ensuring a tight seal is crucial to avoid any mess while decorating.
- Consider dividing the icing into batches if you have a large amount, to maintain control over your designs and prevent the icing from becoming too warm.
If you want to read similar articles to How to Make a Piping Bag and Nozzle at Home, we recommend you visit our Food & drink category.


