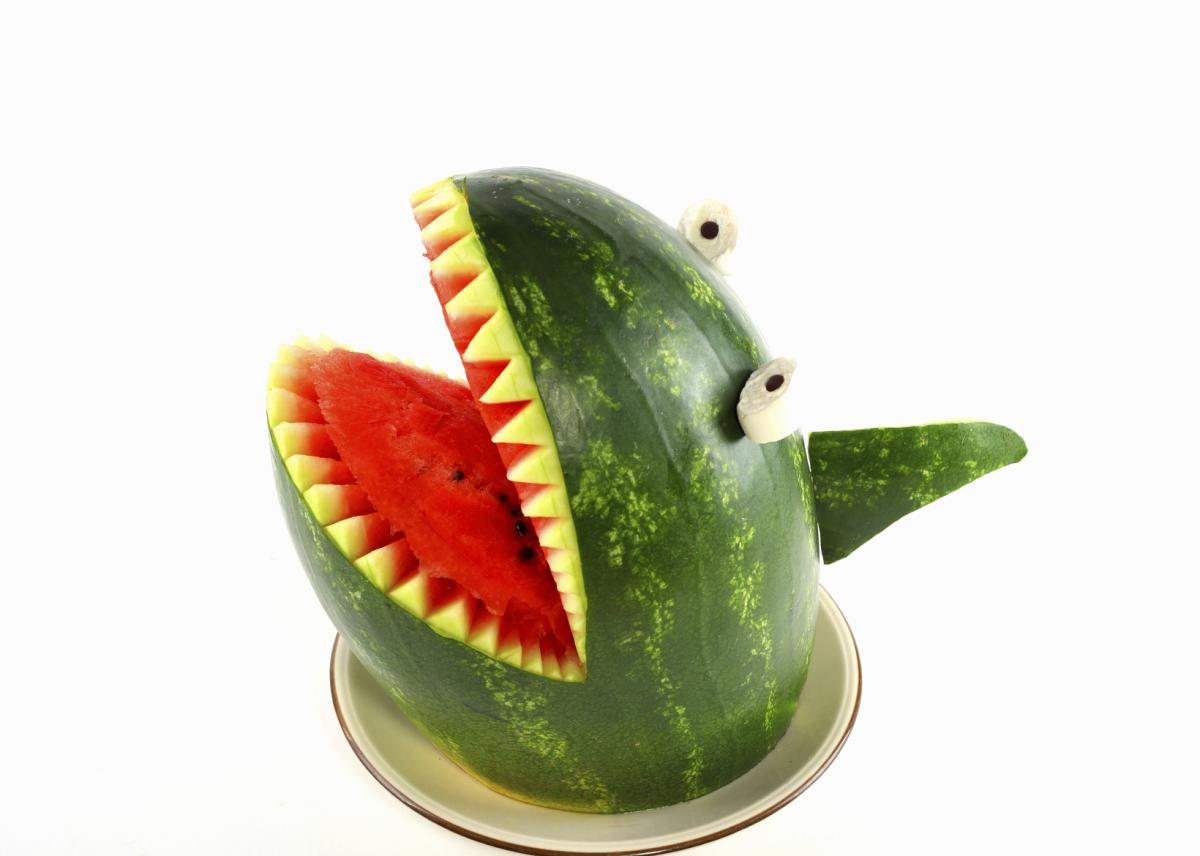
Step by Step Guide to Carving a Watermelon Shark

With the summer months comes watermelon season and all the benefits of getting hydrated by eating this refreshingly sweet fruit. Watermelon is one of the fruits with higher water content but is also a powerful source of Vitamin C, copper, potassium, magnesium and many other nutrients. You may eat the fruit by cutting a thick slice or you may want to have fun with it first by carving some fun shapes, such as a shark, around its flesh.
In this OneHowTo article we share step by step how to carve a Watermelon Shark in very little time.
You'll need:
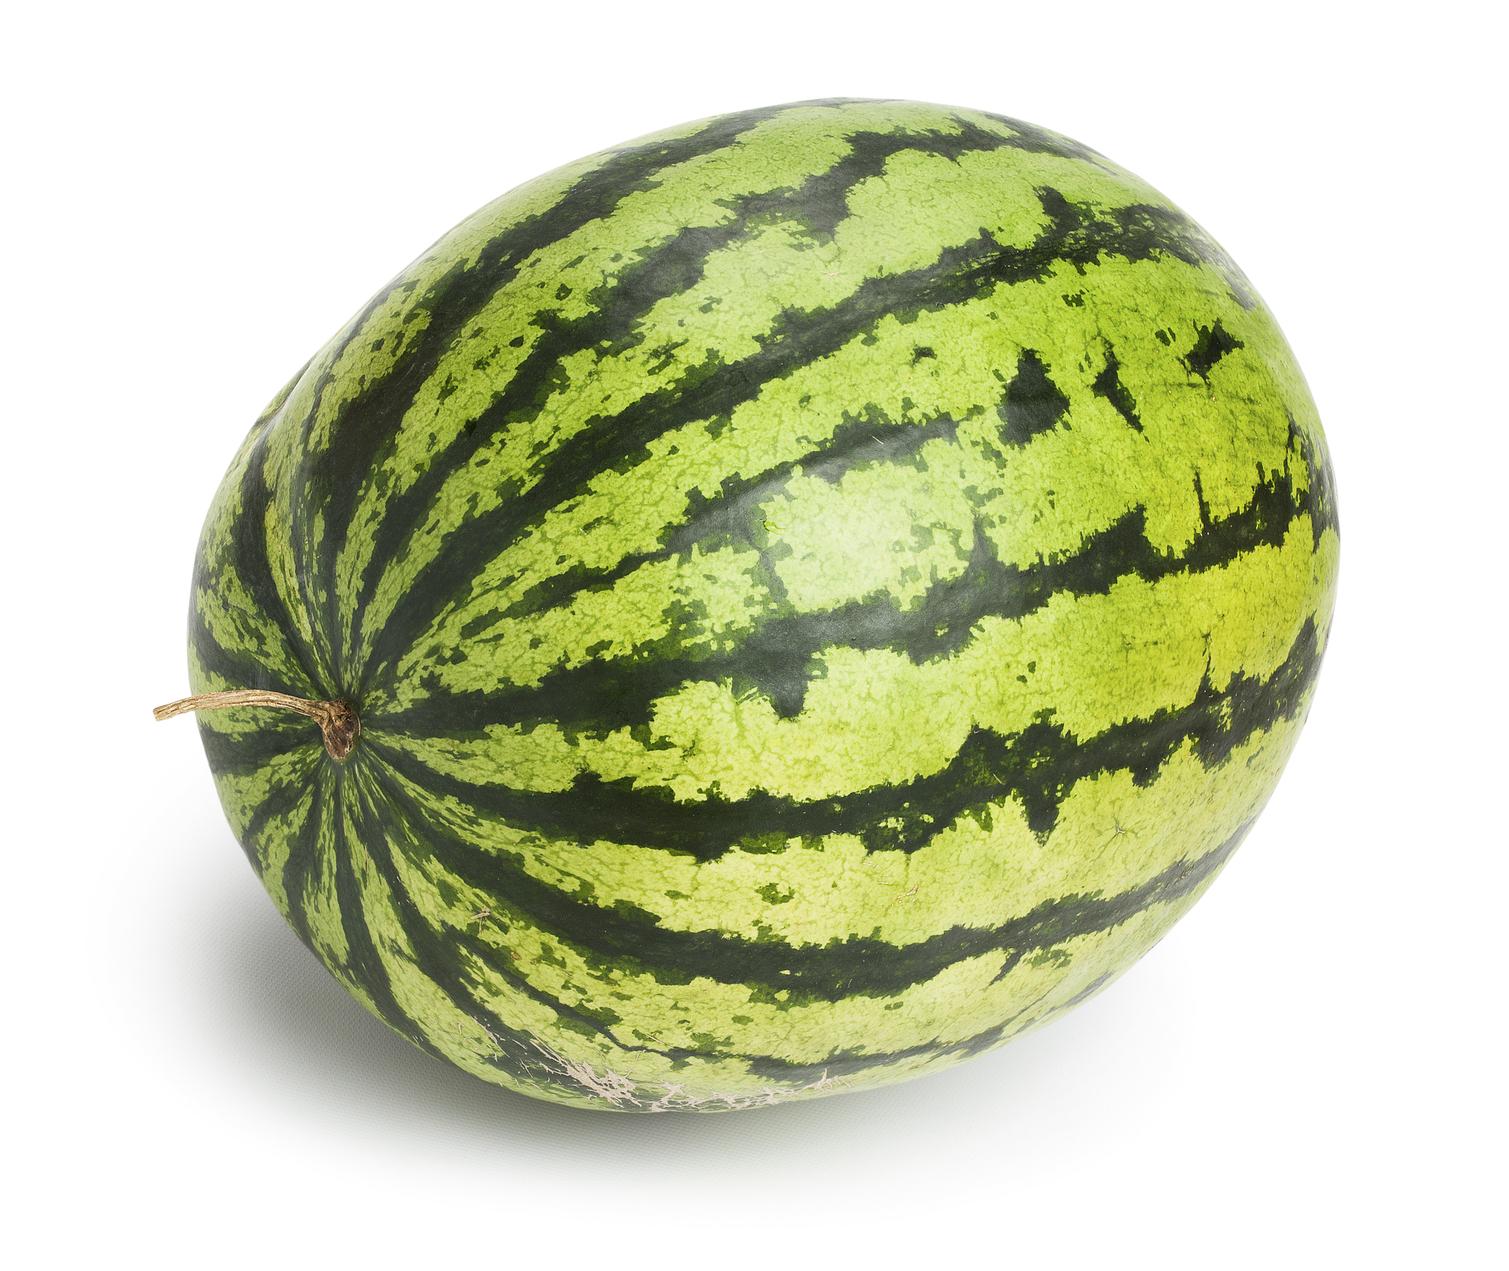
- 1 elongated watermelon (not a round shaped watermelon)
- 1 marker or pen
- 1 carving knife
- 1 pairing knife
- Large spoon
- Toothpicks
- Blueberries or grapes (optional)
Steps to follow:
Before you begin carving a Watermelon Shark, make sure that you have cleaned your watermelon and thoroughly dried the skin. The first step is to grab your knife and carefully cut off about a third of your watermelon diagonally. This way it will stand vertically but with a slight angle. This is why it is important that you choose an elongated watermelon as opposed to a round shaped one.

The next step will be to cut the mouth. To make this step easier, draw the area on the side that is still uncut that will become the shark's mouth with a marker. Then carve out the flesh inside but leave a small amount at the bottom. You want a hollow mouth so that you can then fill it out with fruit or other food.
To create the teeth use a paring knife and peel/cut around the edge of the mouth just to remove the green layer. You will now have a 2 cm (1 inch) white line around the edge of the mouth. Take your time and work slowly as you only want to remove the grind and not expose any of the red flesh.
With the same pairing knife, cut around the white line to carve out the pointy teeth. You are just making triangles around the mouth. Try to make the triangles as similar as possible and about 1 cm (1/2 inch) thick.
To add some fun details you can add a fin to the back of the shark by cutting a triangle from the watermelon you set aside at the beginning and set it in place using toothpicks. If you have blueberries or grapes you can carve a little hole and affix a pair of eyes on the shark. An easy hack would be to dress your shark with a pair of sunglasses or a hat.
Finally, chop some watermelon chunks and fill the mouth of your shark. You can also fill it up with fruit salad for another pop of color. Enjoy!
Let us know if you try it and please comment if you would like any other watermelon carving ideas!
If you want to read similar articles to Step by Step Guide to Carving a Watermelon Shark, we recommend you visit our Food & drink category.


